4. Directives Basics
Directives are custom html attributes on html elements that are defined and used by angular to operate on the element containing the directive. In contrast to what you might have done in the past, target an element using jQuery Sizzle selectors and then operate on those elements, Angular uses a declarative paradigm where you declare on the element what you want done to it.
Angular provides a number of commonly used directives but allows you to easily create your own custom directives. The built in directives are preceded by "ng-" or "data-ng-". "data-" should be used on all custom html attributes if you want to follow html standards, however Angular does work with or without the "data-" prefix.
Angular provides a number of commonly used directives but allows you to easily create your own custom directives. The built in directives are preceded by "ng-" or "data-ng-". "data-" should be used on all custom html attributes if you want to follow html standards, however Angular does work with or without the "data-" prefix.
Ok, back to the code. In the shell page there are two important directives to get started:
data-ng-app - is applied to a root element on the shell page to tell Angular this is in-fact an Angular application. The value for this attribute defines the name of your angular module.
data-ng-view - is applied to the element that has the views switched into asynchronously (more on this later). This directive does not use the value, but for good HTML form we will apply an empty value.
Apply the two directives like in this example:
5. View Basics
Views are the "pages" of the SPA. They contain the HTML content for each page. We will begin with static content, but as we will investigate later, they can be very dynamic through the use of Angular directives, data-binding, templating, services and more.For now we will create three views with a little content just to show what view is being shown; Home, Catalog, and Cart.
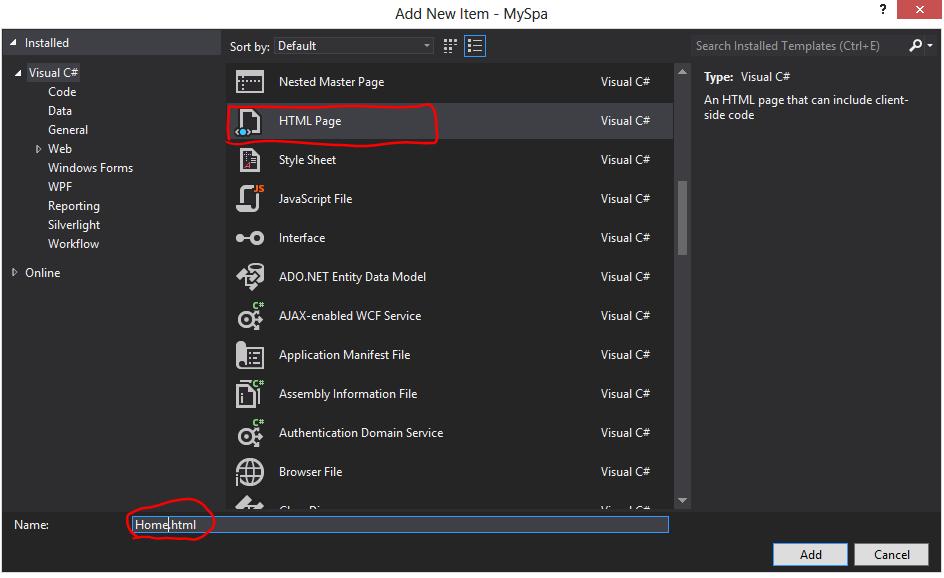
To do this, right-click on the app>views folder that was created earlier, and click Add>New Item.

Then find the "HTML Page" template and rename the file to the view name "Home".
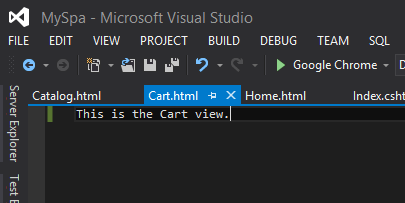
Visual Studio will insert some bare-bone HTML content that we do not want into the views we just created, remove it all and insert a little bit of content to illustrate what view it is e.g. "This is the Cart view".
Now that we have some simple views, we need to wire them up in Angular using routes.
6. Main Angular File & Routing Basics
Before we start with routes, we need to create the Angular Module for this application. It is the JavaScript object that provides the entry point to the Angular functionality. This is essentially is analogous to the "main" function in other frameworks/languages.The Angular module does not need to be in its own file, none of the code actually does, but I prefer to keep it structured for maintainability and readability.

In your root SPA App folder, create a new JavaScript file called main.js and insert the following code.
Notice the code for the routing. The first parameter in each 'when' function call defines the hash based route. The second parameter is a object containing another important parameter, templateUrl, this defines the URL of the view to load when the particular route has been selected.
One last thing we need to do before we can see the routing working, add a reference to the main.js file to the shell page after all the other scripts. Hit F5 and run the app. It should open to the default route and show the Home view. Then modify the URL by adding a route after the hash e.g. /#/Cart or /#/Catalog. You should see that the view changes.
If you use developer tools within your browser to observe network activity, you should notice that the views are not loaded on the initial page load, but are loaded on demand asynchronously and then cached.
7. Navigation bar and Styling
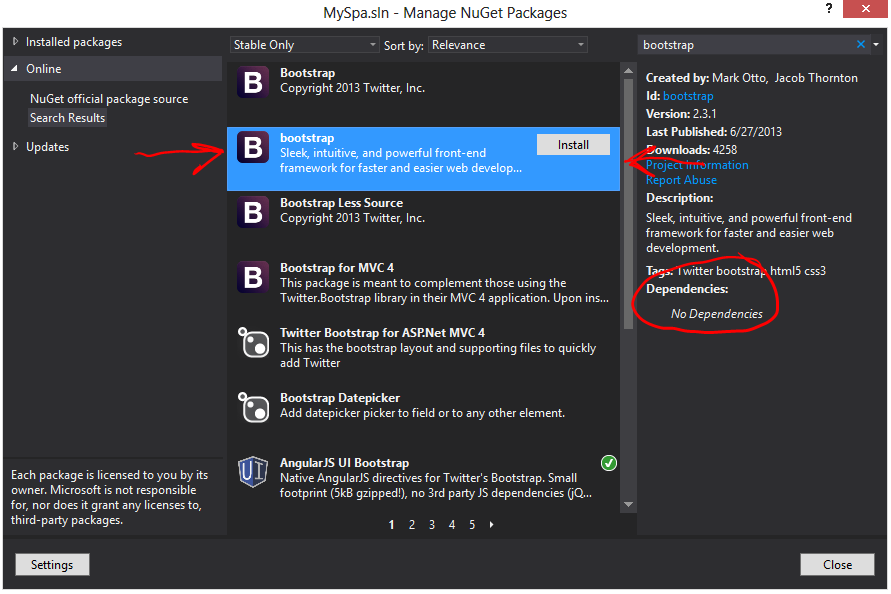
Before we go any further, we can add a little styling to the app to help aesthetics and convince ourselves this will be a useful app. To do this, we can use some Bootstrap to help us structure and style the content, and also provide a neat navigation bar which we will extend the functionality with later using Angular.
Add the Bootstrap navigation bar to make the body in your shell look like the following:
Add the Bootstrap navigation bar to make the body in your shell look like the following:
Notice that the links in the navigation bar use our routing. Click the links and you should see the content for the corresponding view. This will do for now, we will make use of bootstrap progressively throughout development of this app.
8. Controller Basics
An Angular controller is a JavaScript method that is run automatically by Angular when a particular view comes into context. In this method we can provide our views behavior and data through a viewmodel type object that Angular names $scope. You don't need to worry about setting up $scope, you just tell Angular that you want to use it by declaring it in the function argument list, and Angular will inject it.
In this app, I will create a discrete file for each controller. Angular does not care where you put the controllers, they can even be in script blocks in the shell, but I prefer to keep things organized for easier maintainability. The files can be minimized and bundled later if performance is an issue. So create a controller for each of the views as shown in the tree structure below. They are just empty JavaScript files, remember these are not .NET MVC controllers, they are Angular controllers.

Now that we have some files, we can create the controller method using the Angular syntax in the snippet below.
This starts out by referencing the Angular application object we created earlier (myStore). Then calling the Angular controller method to create our own new controller method. The first argument to the Angular controller method is the name of the controller, we will use this in a moment to wire up this controller to the view using the routing setup. the second argument is an object array. This is a convention Angular uses throughout the framework to provide dependency injection. All of the items in this array are strings telling Angular what we want to use, and the last item is a function that will use the requested items with an argument list matching the previously requested items. There are different forms of syntax to achieve this in Angular, but this is common and easy to read once you know it.
As mentioned, the last item in the object array is a method called when the controller is initialized, and Angular will handle dependencies if requested. To begin with we will only ask for the $scope object so we can pass behavior and data to a view matched with this controller. The $scope object is a little more than what we describe here, but this will get us started.
Do the same for the Cart and Catalog Controllers, but make sure to give them their own unique names e.g. CartCtrl and CatalogCtrl.
When that is complete, come back to the Home controller and we will add some data and a function to use in the Home view. Populate your controller so it looks like the following:
Before we can use this controller we need to reference the controller files to the shell so they are downloaded during the initial app load. Add the references as illustrated in the following screen grab of the shell (index.cshtml).

Now we need to connect the controllers to the views using the routing system. All you need to do is add the name of the controllers to your route's 'controller' property in the main.js file.
Now we are ready to use our controllers and views together, this will be in the third part of this series.
This is some very intriguing content using pretty print.
for(var i = 0; i < 9; i++)
{
var banana = "yellow";
console.log(banana)
}